Sunday, November 26, 2006

A Good weekends work


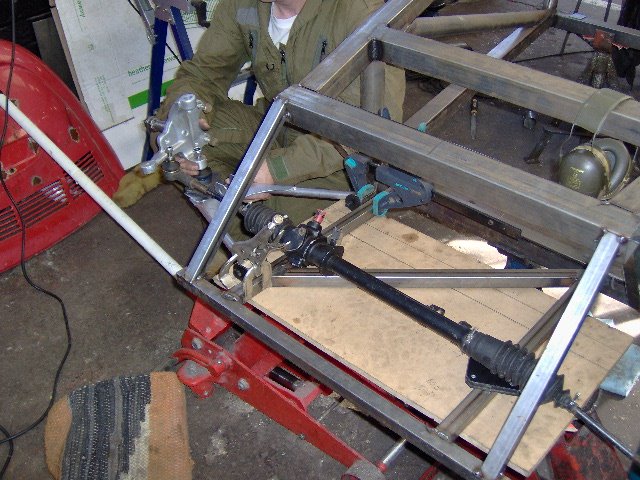
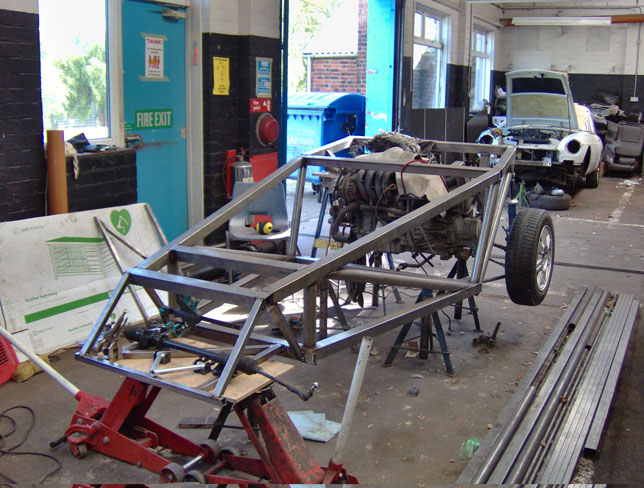
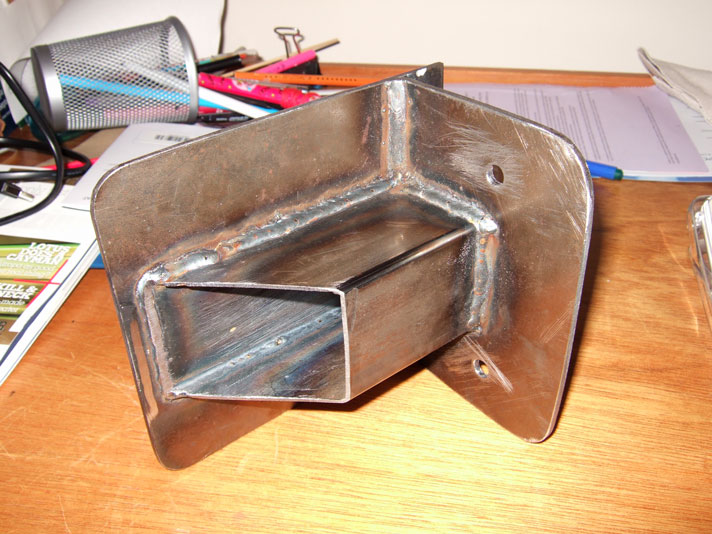
Had a good weekend of work. John and his family visited so while our brave wives dealt with 5 kids, we went to the workshop! While I welded up all the tacked joints, John fabricated the mount for the steering column, which I later welded up. John then made the cross piece for the top of the chassis. The mount will bolt to additional cross pieces not yet made.
I have been agonising for ages about what to do for the floor. I had been given a large sheet of 18g steel to use, but I was worried about it flexing as I got in and out. Aluminium was my preferred option, mainly for the weight, but the current prices are very high and it seemed silly to spend £50 or £60 when I had perfectly good steel. I then noticed a Fiesta back seat in the scrap bin. The back of this is thin steel but it has ribs pressed into it and supporting bars. I have now cut this down to use at the front of the footwell and I’ll use the this steel under the seat where you don’t stand, as you can see form these photos.

Thursday, November 09, 2006


Had a much more successful time today. Managed to cut and drill 2 sets of seat rails, the lower portion on the centre tunnel and cross member and the ‘verticals’ for the front and rear bulkheads. Doesn’t sound much when it is listed like that but it was a good 2 to 3 hours of solid work this afternoon. It is getting quite exciting now that the prospect of finishing all the metal cutting is looming nearer!
Time to get the welder out and join this lot together!

Wednesday, November 08, 2006

No steps forward, two back

Had a very simple goal today. 1. Remove Engine 2. Begin fabrication of tunnel. Time allocated: Task 1 - 10 mins, task 2, rest of morning. Oh that it were so simple! Began by positioning hoist to support engine so that once the mounts were undone, the chassis could be lifted a few cms to clear them before manoeuvering it clear past the exhaust stub, which will be going soon! However, for some reason, the engine didn't come out level and the right engine mount remained not only firmly attached, but also skewed so that no motion either wasy was possible. 2 hours of fruitless effort followed during which time I was unable to budge anything. At least the integrity of the welding was proven as the entire engine/gearbox were suspended from one mount while I 'tapped' it to free it. Unfortunately I caught a glancing blow on a couple of pieces loosly tacked in place, which fell off! Eventually I was forced to admit defeat as the mount had begun to bend. I had to cut it off the chassis. Time was then up for the day so I returned home for lunch a very unhappy bunny! Maybe tomorrow when I have chilled a bit I will start task 2 on my list!

Reminder to self: Supposed to be enjoying this!!!!

Tuesday, October 17, 2006


I finished the front end, as predicted, a week or so ago but forgot the camera so here are the photos. Meanwhile I have been sorting the rear track control arms. I cut the arms off the Fiesta steering rack - fortunately they were not hardened. I then had the inner ends turned down to 12mm and cut a thread onto them so that they will take the bearings that I am no longer using for the rear struts. All this took time as I had to get them turned at work and then await for delivery of an M12 fine die to cut the threads. All I need now are 2 new track rod ends.

Tuesday, October 03, 2006

Front end


Got around to sorting out the front end today. First I spent some time repositioning the front tubes that had skewed - cutting them off and re-aligning them. It was only about 7mm but well worth the effort to get it all sorted. I then started tacking the front suspension brackets. I had some on but when I touched them, they fell off. I cleaned them up, made sure the metal was really clean and tried again, with the same result. Then I noticed that the welder had been knocked and the switch had gone from ‘A’ to ‘1’, meaning I was using minimum power! Changed settings - sorted. It took a long time to get the brackets on all square. By the end of the afternoon I had one side done and couldn’t resist gently putting it all together! Hopefully the other side should be much easier and be completed in the next day or so.

Wednesday, September 20, 2006

Rear suspension - second half


A good mornings work today with the other side of the rear suspension tacked in place. Not without trauma though as no amount of persuasion would make the ball joint engage in the bottom of the hub - it's even an official Ford part, bought from e-bay so despite appearing identical to the others, it may be from a slightly different model. Fortunately I had the scabby remains of one of the donor lower arms and was able to retrieve the joint from that, at least until I can find a replacement. Once this was all done, I re-checked the front frame for squareness, only to discover that it had skewed during tacking, on one side, so that will have to be re-done next.

Sunday, September 10, 2006

Back at last!


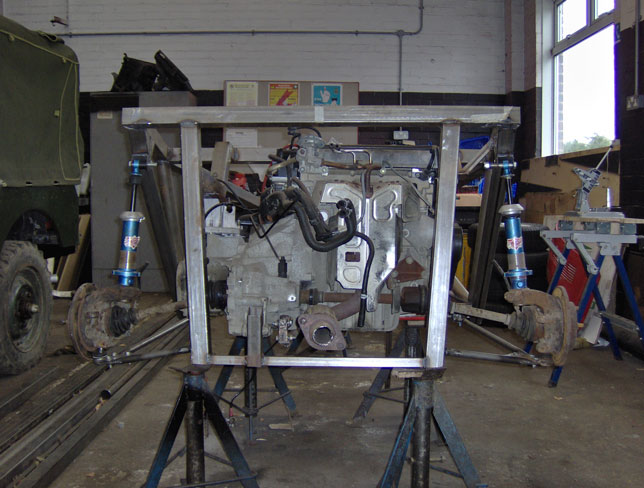
We finally got back in the workshop this weekend now that summer holidays are over! It took a while to sort out what was what and find everything we needed, not helped by the usual invasion of leaves that had to be cleared away before work could commence. John continued at the front. First he had to remove a lower frame that had previously been tacked into position - somehow it was 5mm off centre. Once this had been re-fitted and re-levelled, the vertical pieces that will support the wishbones had to be cut and tacked into place. At the back we expended a lot of mental energy deciding the best way to attach the lower wishbone, following the latest modifications at the rear. In the end it was a relatively simple solution that proved the best (isn’t it always?) and I got on sorting this out. Once the front was tacked up, for the first time we were able to accurately mock up the relative positions of the wishbones and steering rack, as shown here. It all looks like it should go together without too many problems.......
At the back, with one side sorted, I couldn’t resist putting a wheel on and seeing how it looked! I also got on and ground off the remainder of the old rear tubes, and fabricated the components for the other side. Unfortunately progress was halted at that point as the suspension brackets made for me in a local workshop have the wrong size bolt holes, so no further progress was possible until I have re-drilled these!